Navigation:
System Configuration Admin > Device Configuration > The ARB Module >> Configuring the ARB Module
Configuring the ARB Module

Contents
Users installing the IMC ARB Module will need to use the IMCBaseUtility application to configure the device with the required Internet Protocol (IP) and Target Synergy Server settings.
To Configure the ARB Module using the IMCBaseUtility:
1.Plug the ARB Module into the PC via an Ethernet cable/port.
2.Start the IMC Base Utility (Refer to IM5653 IMCBaseUtility Manual for further details):
•Windows 7 and Server 2008 R2
i.Click on the Start button.
ii.Select All Programs.
iii.Navigate to and open the The IMC Group Ltd folder.
iv.Click on the IMCBaseUtility entry.
•Windows 10 and Server 2012
i.From the User Interface, navigate to the The IMC Group Ltd programs section.
ii.Click on the IMCBaseUtility entry.
•The IMC Base Utility window is displayed. See Figure 327 below:
Figure 327
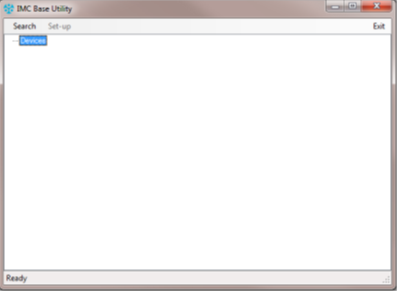
3.Click on Search in the displayed IMC Base Utility window’s main menu bar. See Figure 327 above.
•The IMC Base Utility window is populated with a list of all available devices, their Serial Numbers, MAC Addresses and IP Settings. See Figure 328 below:
Figure 328
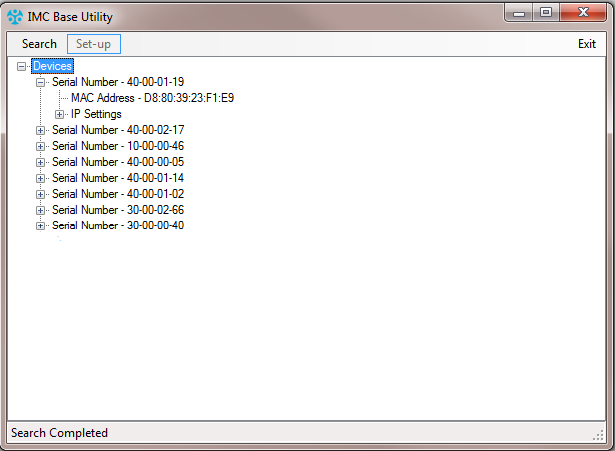
4.Select the required ARB from the displayed list.
5.Click Setup on the IMC Base Utility main menu bar. See Figure 328 above.
•The Base Configuration window is displayed. See Figure 329 below:
Figure 329
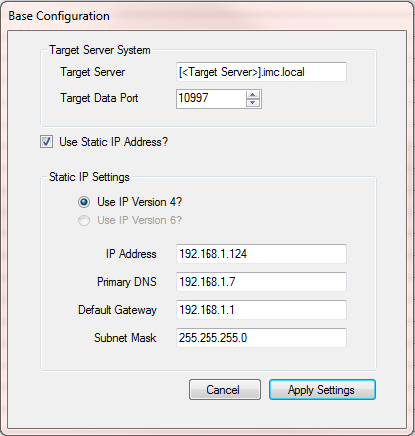
•The Target Server field will be populated with a place holder for the Server name in the form: [<Target Server>] - followed by the DNS suffix for the local domain.
Figure 329 above shows an example where the domain is called imc.local.
•If the Network does not use a domain name, then the DNS suffix will not usually be present and is not required.
| Note: | If the IMCBaseUtility is run on a machine with multiple network adaptors, then an incorrect DNS suffix may be initially shown. |
6.Enter the Target Server details
Either:
A fully qualified domain name/resolvable Hostname.
Or:
The fixed IP address of the Server
| Notes: | If the Target Server is part of a domain and uses DHCP to obtain its IP address automatically, then you must use the Server’s resolvable hostname for the Target Server. |
| If the Target Server is not part of a domain, then the Server must have a fixed IP address. |
| If these conditions are not met, then the base device will not be able to contact the Server when the Server’s IP address changes on DHCP lease expiration. |
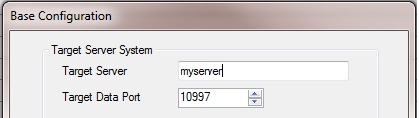
To enter a Hostname, replace [<Target Server>] with the Server hostname, e.g. if your Target Server is called myServer then you would enter myServer as shown in Figure 330 below.
| Note: | Hostnames are not case sensitive; myServer being the same as MyServer. |
Figure 330
If the network does not use a domain name, then only the resolvable Hostname of the Target Server is required. See Figure 331 below:
Figure 331
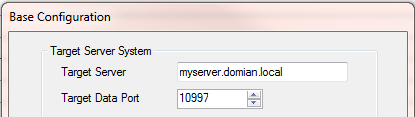
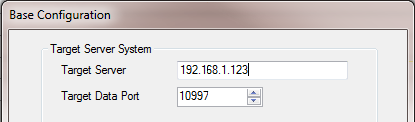
To enter an IP address, simply type the IP address into the Target Server field. See Figure 332 below:
Figure 332
7.If necessary, enter the Target Data Port.
The Target Data Port is the Port Number that the SynergyDataService uses to listen for device connections; this was set when the system database was created using the SynergyConfig Utility.
•The Default Port Number 10997 is automatically displayed in the Target Data Port textbox. In most instances, this will be the correct number and the Target Data Port textbox should be left unchanged.
However; if the Port Number was changed during the database configuration process, then you must enter the new port number in the Target Data Port field.
•If the Port Number was changed, then your System Administrator should have noted this in the Base Data table entry on your Pre-Requisites form.
8.If a Static IP address required, tick the Use Static IP Address? box and enter the required IP settings into the Static IP Settings group’s fields. See Figure 333 below:
Figure 333

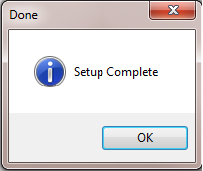
9.Click Apply Settings.
•The Done - Setup Complete window is displayed. See Figure 334 below:
Figure 334:
Figure
10.Remove the ARB’s connection to the laptop.
11.Connect the ARB module to a Network Port with internet access.
| Note: | Please ensure that your network allows outgoing connections on Port 10997 (or the alternative Port defined – See 9 above). |