
Contents
To Delete Zones
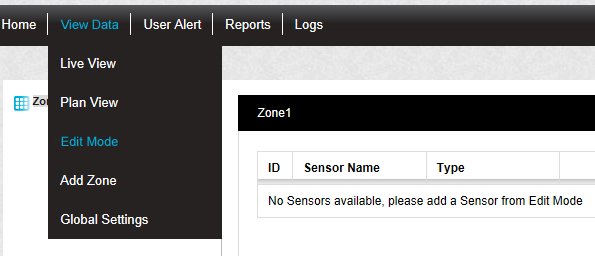
1.Select Edit Mode from the main View Data menu. See Figure 357 below:
Figure 357
•The Editing and Configuration window is displayed. See Figure 358 below:
Figure 358
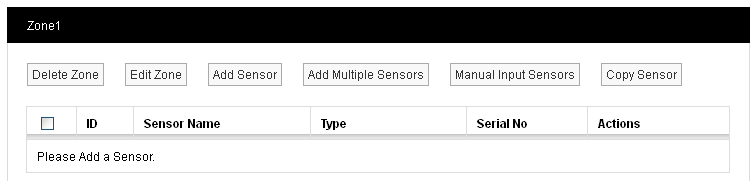
•By default, the Sensor and Zone editing/configuration window for the Zone at the top of the left-hand menu is displayed.
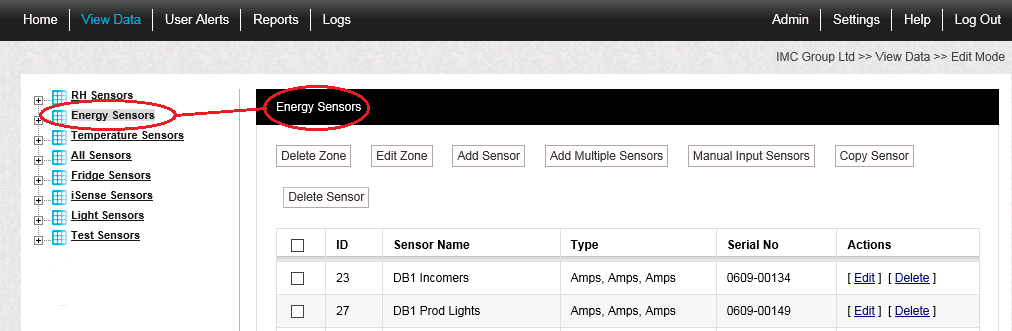
•To display another Zone's Editing and Configuration window, click on the entry for the required Zone in the left-hand menu. For an example, see Figure 359 below:
Figure 359
| Note: | Edit Mode is only available if you have the correct access Permissions, if you do not have the access permissions you will see the following message: |
| Access Denied. You are not authorised to perform this task, please contact your System Administrator. |
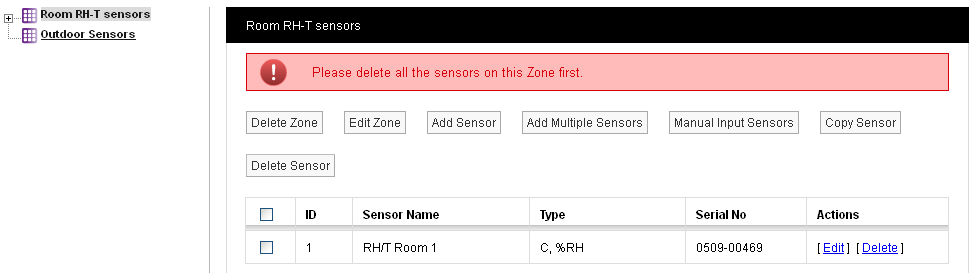
2.Ensure that that there are no sensors associated with the Zone.
•You cannot Delete a Zone while it still has Sensors attached. Trying to do so will display the following error message. See Figure 360 below:
Figure 360
To delete a Zone's associated sensors:
| Either: | Click on [Delete] on the line corresponding to the sensor(s) to be deleted in the Zone's Editing and Configuration window and delete every selected sensor. Continue until all of the sensors have been deleted. See Figure 360 above. |
| Or: | Check the box to the left of the sensor(s) to be deleted in the Zone's Editing and Configuration window and click on the Delete Sensor button to delete every selected sensor. Continue until all of the sensors have been deleted. See Figure 361 above. |
| Or: | Check the box next to ID in the Zone's Editing and Configuration window table's header to check all of the boxes and select all sensors, then click on the Delete Sensor button. |
Depending on how many sensors were selected for deletion, one of two warning messages will be displayed:

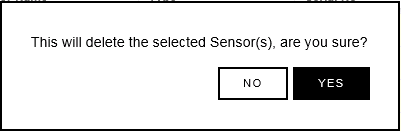
In either case, click on Yes to confirm the sensor deletion or No to cancel the sensor deletion.
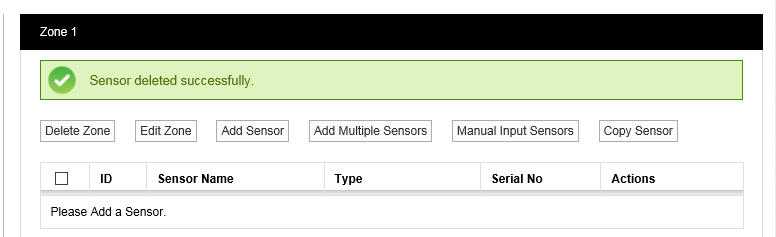
•Clicking on Yes will display the following message. See Figure 361 below:
Figure 361
3.When all sensors associated with the Zone have been deleted, click on the Delete Zone button on the Zone's Editing and Configuration window.
•The following warning message will be displayed:
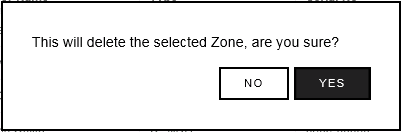
•Click on Yes to confirm the Zone's deletion or No to cancel the Zone's deletion.
•Clicking on Yes will display the following message. See Figure 362 below:
Figure 362
