Navigation:
System Configuration Admin > Device Configuration >> Edit/View Device Groups
Edit/View Device Groups

Contents
Device Groups allow easier management of Systems with more than 255 transmitters.
•A Device Group is a Group containing one or more Receiving Devices.
•View a Device Group's Details
•Edit a Device Group's Details
•Alarm Notes and Printers Options
To View a Device Group's Details
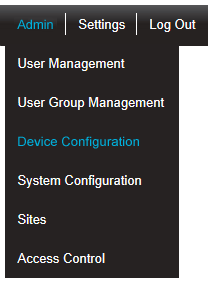
1.Select Admin then Device Configuration from the drop down menu, located at the right hand side of the top menu bar.
Figure 310
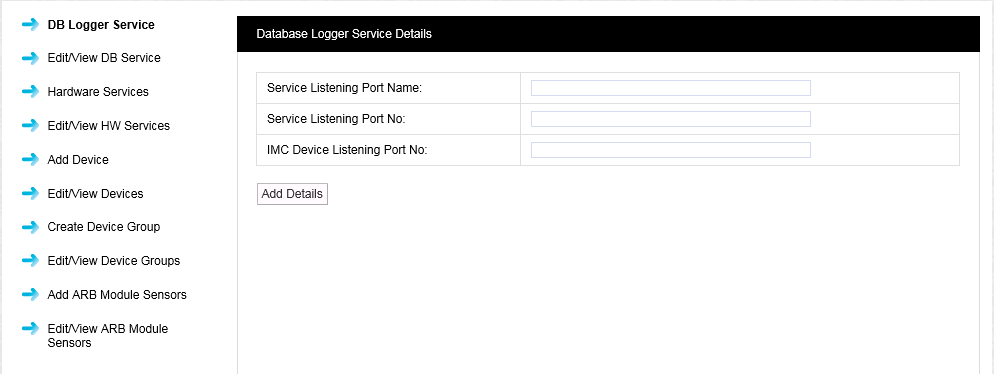
•After selecting Device Configuration the default Database Logger Service Details window is displayed. See Figure 311 below:
Figure 311
2.Select Edit/View Device Groups from the left-hand menu to display the View Device Groups window. See Figure 312 below:
Figure 312
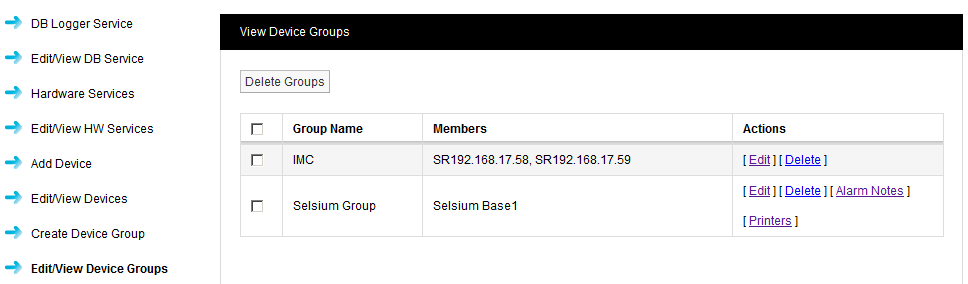
•From the View Device Groups window displayed above (see Figure 312) you can Edit a Device Group's details or Delete a Device Group.
To Edit a Device Group's Details
1.Select [Edit] in the line corresponding to the Group Name that you wish to Edit.
•The Edit Device Group window is displayed. See Figure 313 below:
Figure 313
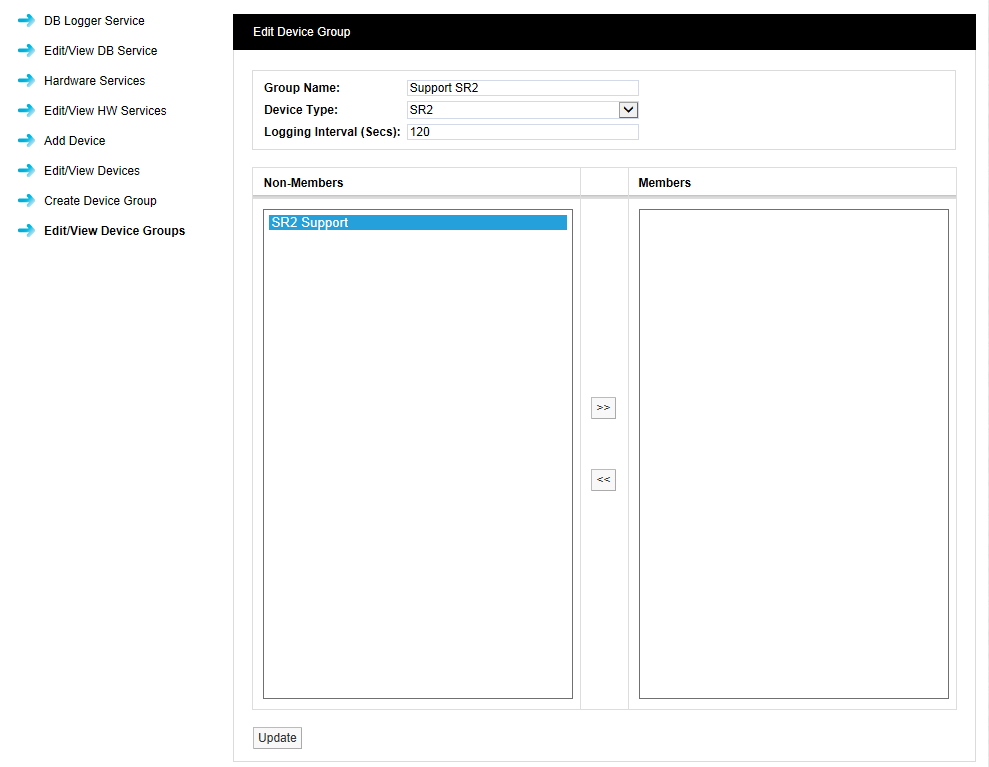
2.From the Edit Device Group window, the User can:
•Change the name of the Device Group by entering a new name into the Group Name: dialog box.
•Change the Device Type by selecting a new Device Type from the Device Type: dialog box.
•Change the Logging Interval by entering a new value (in seconds) into the Logging Interval (Secs): dialog box.
•Add or remove Receiving Devices to or from the Device Group as follows:
i.Select the Receiving Devices to add or remove from the Device Group:
•Available Receiving Devices will be listed in the left-hand Non-Members column.
•Any Receiving Devices already in the Device Group will be listed in the right-hand Members column.
ii.To add a Receiving Device to the Device Group:
•Highlight it in the Non-Members column and then click the double right arrows to move it across to the right-hand Members column.
iii.To remove a Receiving Device from the Device Group:
•Highlight it in the right-hand Members column and then click the double left arrows to move it across to the left-hand Non-Members column.
•You cannot de-select all Receiving Devices from a Device Group. A Device Group always has to have at least one Receiving Device in it. If you need to de-select all of the Receiving Devices from a Device Group, then delete the Device Group.
| Note: | Every Receiving Device must be in a Device Group, see examples below: |
9.Once you are happy that the details are correct click on the Update button.
From the View Device Groups window (see Figure 312 above).
1.Either:
•Select [Delete] on the line corresponding to the Device Group you wish to delete.
Or:
•Check the box or boxes next to the Device Group or Device Groups you wish to delete.
•Check the box next to the Group Name column heading to select all Device Groups for deletion.
•When you are happy that you are deleting the correct Device Group or Device Groups, click on the Delete Groups button.
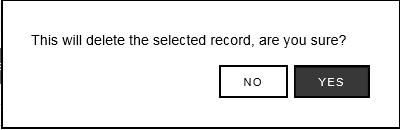
2.Click Yes on the displayed message window to delete the Device Group(s).
•Click No to cancel the deletion.
See Figure 314 below:
Figure 314
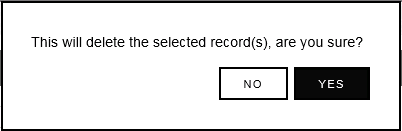
| Note: | If you selected Device Groups by checking the box(es) next to the Group Name column heading, a slightly different message window is displayed. See Figure 315 below: |
Figure 315
•Following a successful deletion, the following window will be displayed:
Figure 316

Alarm Notes and Printers Options
Where the Selsium OEM licence is active, a User can enter Alarm Notes for a Device Group and also associate a printer with the Device Group.
| Note: | Alarm Notes and Printers are Selsium specific options and are only available when the Selsium OEM licence is present. |
•Alarm Notes entered for a Device Group will only be used if Sensor Alarm Notes are not available, see Figure 317 below.
•Information related to sensors in alarm will be printed to the selected printer.
•The system will only print to printers installed on the Synergy server.
•The Customer’s IT department is responsible for making sure that printers are installed on the server.
•A test print feature is also available on Printers screen.
•When the User clicks the Test Print button a standard test message is printed on the current printer. See Figure 318 below.
Figure 317
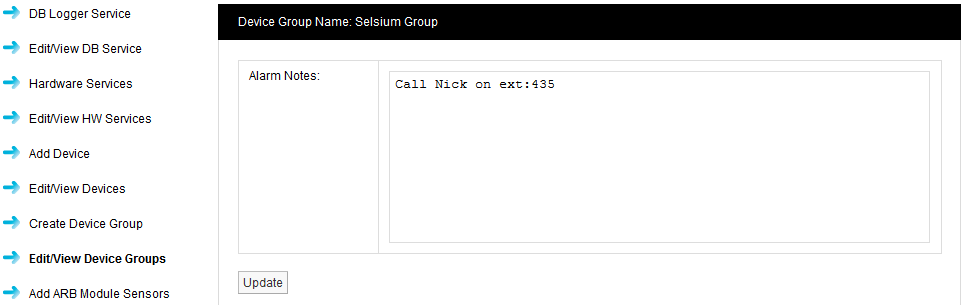
Figure 318
