
Contents
To Add Sub Sites
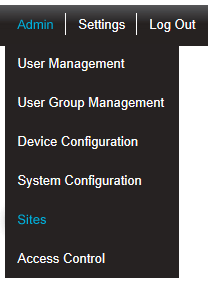
1.Select Admin>Sites from the right hand menu bar. See Figure 239 below:
Figure 239
•After selecting Sites, the Add Site window is displayed. See Figure 240 below:
Figure 240

2.Select Edit/View Sites from the left-hand menu to display the Available Sites window. See Figure 241 below:
Figure 241
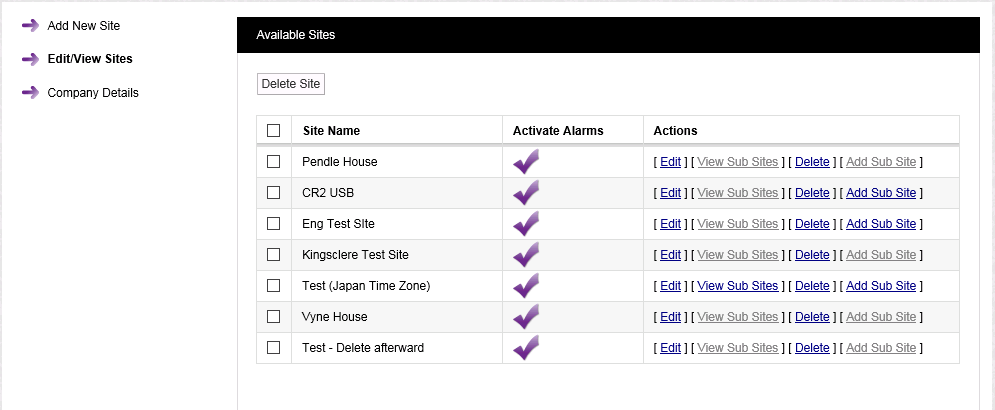
3.Select [Add Sub-Sites] on the line corresponding to the Site you wish to add Sub-Sites to.
•The Add Sub Site window appears. See Figure 242 below:
Figure 242
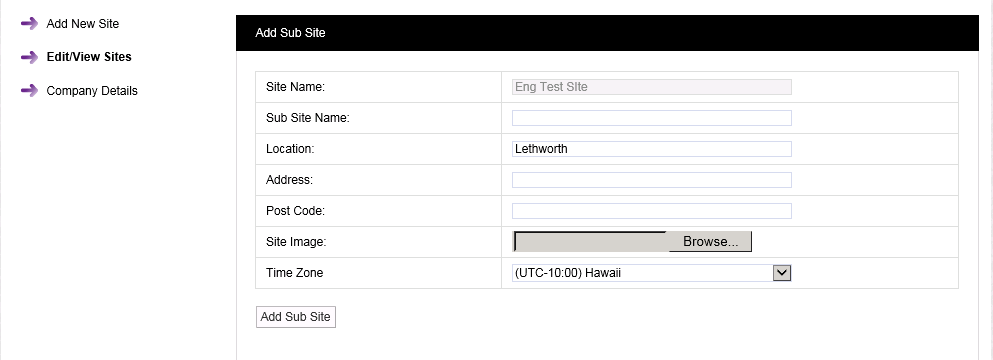
4.Add the following information to the respective fields in the Add Sub Site window:
•Sub Site Name: Enter a name for the Sub-Site. For example, this could be the name of the company.
•Location: Enter the location. For example, this could be the town or city where the Sub-Site is located. (not mandatory)
•Address: This could be the Sub-Site address. (not mandatory)
•Post Code: This could be the Sub-Site post code. (not mandatory)
•Site Image: This could be a photograph or a graphic depicting the Sub-Site. Maximum image size is 30K. The best image formats are .pngs or jpegs.
•Time Zone: Enter the Time Zone of the Sub-Site.
5.When all details have been entered and are correct, click on the Add Sub Site button.
To return to the main Sites menu select Edit/View Sites from the left-hand menu.